Top 5 Tips For Using the Go Books App

Eager to get started, but wondering the best tips and tricks to ensure a beautiful photo book? Check out these 5 helpful tips for designing the best book with ease!
1. Selecting Your Photo Import Options
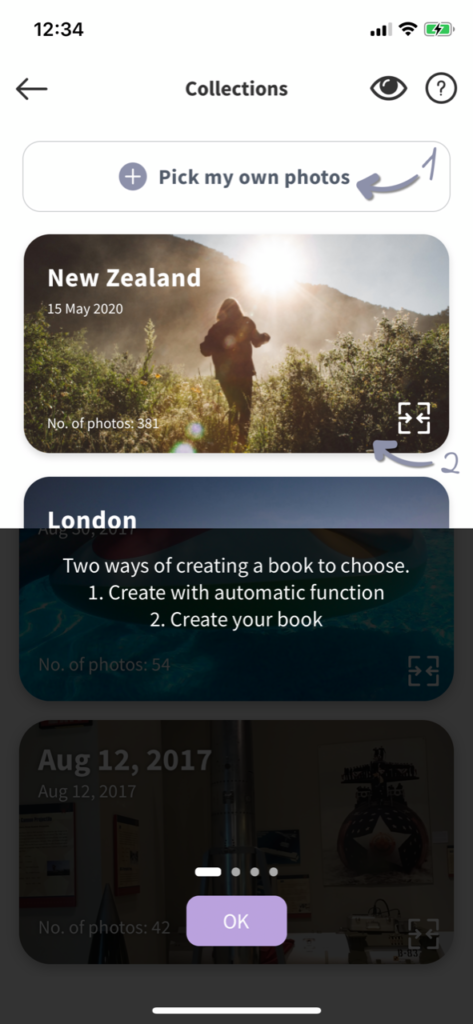
When beginning your photobook project there are 2 types of ways to import your photos. With GoBooks smart Ai technology your photos will automatically be grouped into categories based on location and date. You can select a pre-grouped album or manually select and choose your photos.
2. Adjusting the Pre-made layouts
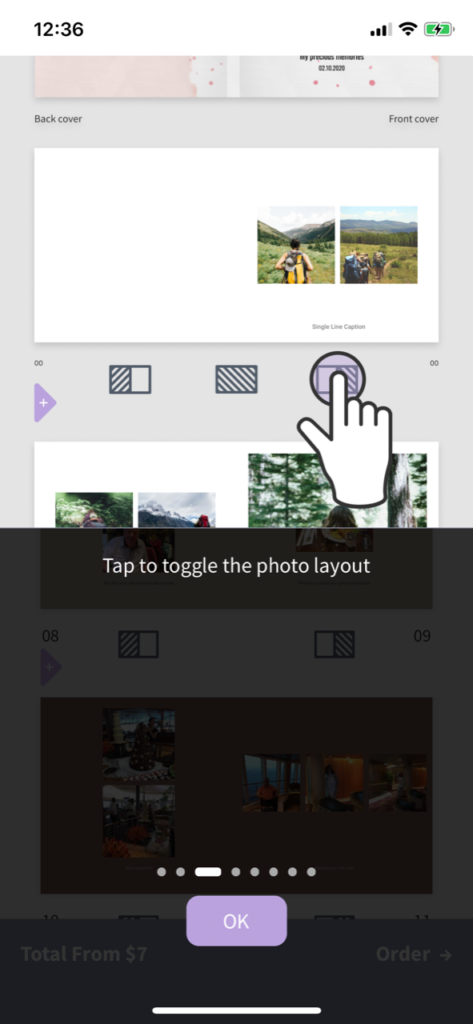
After selecting your photos to be used your book will be arranged out for you. If you wish to adjust the format in which the photos are displayed you can easily change that by clicking on the icon under the page. Upon clicking this icon you will instantly see the photos rearrange on the page. You can click this icon as many times as needed to continuously rearrange your layout.
3. Editing and Cropping Photos
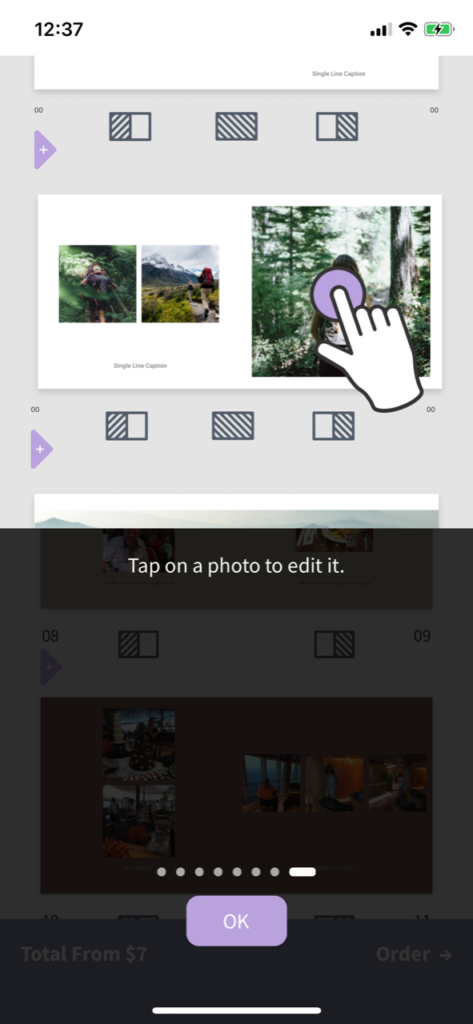
You may wish to adjust the crop, color or orientation of your photo. Simply click on the photo you wish to edit and here you will see color editing options including (Default, Auto, B&W and Sepia) as well as a mirror image, rotate, crop and delete option.
4. Rearranging Page Spreads
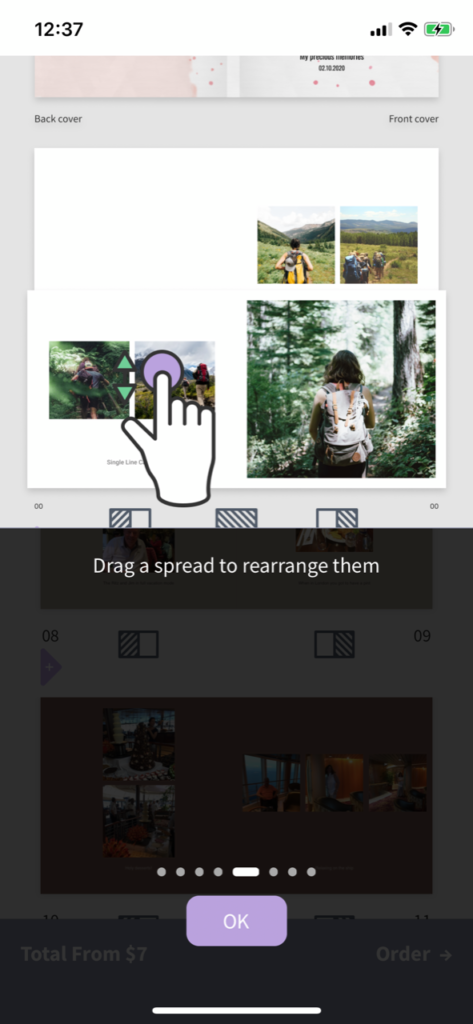
Your pre-made photobook made not be in the chronological order you would like. Thankfully GoBooks easily allows you to move and adjust the flow of your pages. To do so click and hold down a full page spread to easily move it to the order in which you’d like.
5. Auto Choose Background Color
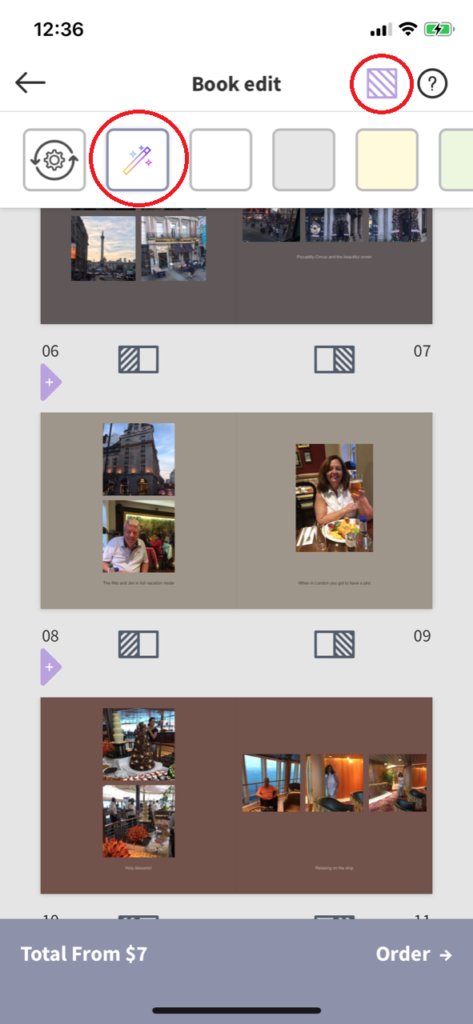
Easily change your background color by selecting the icon in the top right hand corner. This will bring down a menu with a variety of color options. One awesome hidden feature is the first magic wand icon. Selecting this will auto tone your backgrounds based on the majority of the color displayed in the photo itself. Choosing this option alleviates the stress of finding a visually appealing background color to really make your photos pop!